OVERVIEW
This project was created in part with the use of a Unity multiplayer course which helped me learn Unity Netcode and Multiplayer fundamentals. The project features hosting, joining, lobby creation and can easily be expanded for future games.
1
Sole Developer
Unity
Course Used
Multiplayer Core
Authentication
Network Bootstrapper
At the start of the scene, an ApplicationController script is used to detect if on start the client is a dedicated server or not. If it is not a dedicated server it will create instances of client and host singletons which are connected to game managers.

Authentication is directly handled by an Authentication Wrapper script. This wrapper is used to check if the player has successfully connected and can be customised to specific services if needed. It makes use of the Unity Gaming Service' Authentication Service to assist.


Following this, the ClientGameManager script will attempt to Initialize the authentication by using an AuthenticationWrapper. This connects with Unity Services and awaits to check the results of authentication,

Finally, an ApplicationController script will find out the outcome of the authentication and proceed to perform an action which in this case is going to the main menu.
Relays
Setup
Unity's relay service is a method of allowing players to host sessions without the need to portforward and open up their router. After importing the required package, 'Relay Unity Transport' can be added to the Network Manager but is also accessible from scripts.

Allocation

Relays require allocation in order to be used. Once a relay is allocated then it can be used to create a join code for other players to join the host with. Initial allocation also allows for inputs such as the maxmimum number of connections which dictates the size of lobbies. This is all handled in the HostGameManager script. Following allocation, the script then accesses the Network Manager to begin hosting the Lobby and then moves the host into a scene for that lobby.
Joining Relay
When joining a relay, the client will first find the allocation through the use of a join code string provided by the host. After the allocated relay is stored, the client will use the Network Manager to pass and setup the allocation data before starting the client and joining the relay.

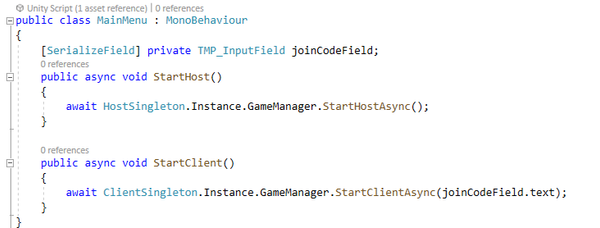
Finally, in order to easily input a join code I setup a Main Menu UI which featured an Input Field. This input field was then linked through using a script to the Client Singleton instance with the string inputted being used as the join code.